Back then, I thought I had to do it all alone. After the amputation, I kept hearing about “prosthetic fitting day.” People said it would be a big step forward. But no one told me how hard it would be to get there. My body felt weak, out of balance, and disconnected. Every time I tried to move, it felt like I was failing. I kept thinking, “How am I supposed to wear a prosthetic when I can barely sit up straight?”
No one prepares you for the emotional weight of healing. But here’s the truth: you don’t have to wait for your prosthesis to start rebuilding strength. The journey begins way before the fitting, and that’s where pre-prosthetic exercises come in.
Why Pre-Prosthetic Exercises Matter
These exercises are more than rehab routines. They’re about giving your body the tools it needs to succeed. If your muscles are weak, your posture is off, or your balance feels shaky, you’ll struggle with the prosthetic.
Pre-prosthetic exercises help you build a solid foundation. They improve your posture, circulation, mobility, and mental confidence. With these routines, your body can better support the prosthetic, which makes the fitting process smoother, safer, and more successful.
Common Challenges Before Fitting Day
You might think, “I’ll work on it once I get my leg or arm.” But waiting only creates more problems. Delaying your preparation can lead to muscle atrophy, poor circulation, and joint stiffness. It can also cause postural imbalances, fatigue, and emotional resistance to movement.
These are the reasons why therapists emphasize pre-prosthetic exercises early on. They’re not just about readiness, they’re about reducing the complications that slow down your entire recovery.
Getting Started: What You Need to Know
Before starting any exercises, talk to your physical therapist. They’ll guide you through what’s safe based on your type of amputation and healing stage.
You don’t need fancy equipment. A supportive surface, a resistance band, and a mirror for posture checks are enough. Most importantly, bring your patience. Healing isn’t about perfection, it’s about progress.
Core Strengthening for Balance and Control
Balance begins at the center of your body. Without a strong core, your body struggles to stabilize while sitting, standing, or walking. Strengthening your abdominal and back muscles can make movements easier and reduce the chance of injury when using a prosthetic.
Exercises like pelvic tilts, bridges, and seated marching are ideal. These movements improve your stability and train your muscles to support weight evenly. Over time, you’ll feel more secure while moving and less dependent on external support.
Hip and Knee Mobility for Lower-Limb Amputees
Lower-limb amputees often carry extra strain on the hips and knees. When these joints become stiff or tight, walking becomes harder. Gentle mobility work keeps these areas active and reduces long-term limitations.
For example, seated knee extensions and hamstring stretches improve circulation while gently challenging your range of motion. Simple leg slides while lying down can help maintain joint flexibility. These exercises should be done slowly and consistently to rebuild confidence in the limb’s function.
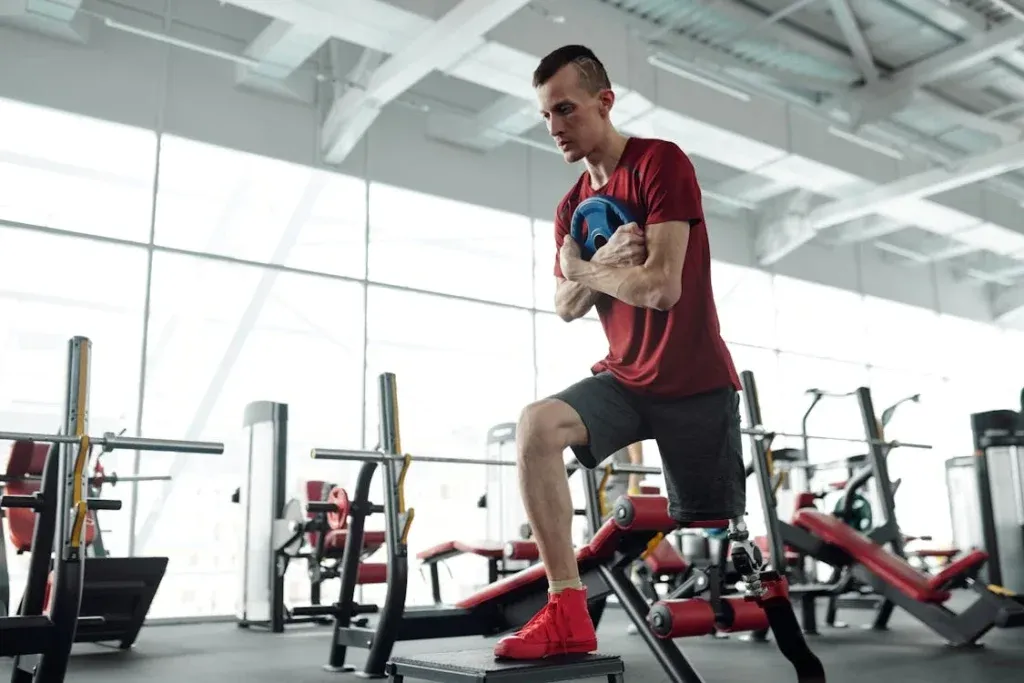
Arm and Shoulder Stability for Upper-Limb Amputees
If you’ve lost an upper limb, your shoulder, back, and neck bear the weight of compensation. Strengthening these areas is key to preventing long-term strain. Even small exercises like shoulder rolls and scapular squeezes can make a noticeable difference in posture and comfort.
Start with controlled movements that keep your upper body engaged without causing tension. This work supports daily tasks, helps with prosthetic control, and lowers the risk of injury on your intact side.
Stretching for Comfort and Circulation
[Bulleted section #1 for quick readability]
Daily stretching keeps the body loose, prevents contractures, and helps ease tension caused by inactivity. Try to hold each stretch for at least 20 seconds while breathing deeply.
- Hamstring stretch: Sit on the floor with one leg extended. Lean forward gently toward your toes.
- Upper arm stretch: Cross one arm across your chest and use the other to press it closer.
- Neck stretch: Gently tilt your head toward one shoulder, hold, and switch sides.
Balance Training for Safe Movement
Balance may feel impossible after limb loss, but it can be retrained. This process requires time and small, intentional movements. Standing weight shifts and single-leg stands (with support) teach your body how to safely redistribute pressure.
Balance work is one of the most critical aspects of pre-prosthetic rehab. It prepares your muscles and mind to feel steady when you finally begin walking with your prosthetic.
Breathing and Relaxation to Reduce Tension
The emotional stress of recovery often shows up as physical tension. Deep breathing and body scanning exercises are powerful tools to calm the nervous system and reduce tightness in your muscles.
Inhale slowly, hold your breath for a moment, then exhale longer than you inhaled. Even two minutes of mindful breathing each day can reduce anxiety and improve your body’s readiness to move. Movement and mental calm work best together.
Sock Management and Skin Protection
Once your residual limb begins to shrink and shape, proper sock use becomes important. Your therapist will guide you on the right fit, but keep these in mind:
- Change socks regularly if they get moist from sweat.
- Use the right thickness to maintain a snug, but not tight, fit.
- Inspect your skin for pressure points, redness, or blisters every day.
Tracking Progress Without Pressure
Progress often shows up in small, quiet ways. Maybe today you sat upright longer. Maybe your balance felt steadier. These moments matter.
Keep a journal of your efforts and small wins. It can be as simple as “did seated marches today” or “less pain in the hip.” This record helps your therapist adjust your program and keeps you motivated on hard days.
What to Avoid While Preparing
It’s important not to overdo your exercise plan. If something causes sharp pain or swelling, stop and consult your care provider. Never skip warmups or do resistance movements without guidance. And above all, don’t compare your journey to anyone else’s. You are not behind. You’re healing.
Conclusion
You don’t need to wait for the prosthetic to start your recovery. Pre-prosthetic exercises help you rebuild your strength, restore your balance, and reconnect with your body. Every lift, stretch, and breath you take is an act of preparation, and an act of courage.
Begin now. Give your body the care it needs today, so it’s ready to support your steps tomorrow. You’re not just preparing for a prosthesis. You’re preparing for freedom.